Hand washing my laundry: Day 1
So, I have decided, for many reasons, that hand washing my laundry (eventually including cloth diapers) has become the only/best option for me. I have done some research online in order to prepare for my adventure in hand washing and I have purchased all of the things that I think will be necessary in my quest to save money and not deal with public laundry facilities.
Why hand wash?
*Preface: I am 34 wks pregnant and live alone with a 2.5 year old.
- I live in a building where the only washer & dryer are in the basement; the only way to get to the basement is around the back of the building, down some very steep stairs; there is about 6 foot of snow blocking my path & according to my rental agreement it's my responsibility to clear that snow if I want to do laundry.
- The washers & dryers in laundry mats all charge prices where the end goal is for the owner to profit, so that tells me that I am probably paying more then I should be to do my laundry.
- Washers & dryers in public facilities are used by the public, so I have no control over what is being put in them for washable items, soaps, softeners, bleach, other various chemicals, etc. My daughter and I both have sensitive skin and allergies.
- Public facilities are far away (I have to drive some where. Waste of gas & more money).
- The apartment I live in includes hot water & water usage in the rent, I am not using the laundry facility downstairs, but I have created my own in my tiny bathroom that I can use to economize on my "unlimited" cold/hot water supply.
- Several other nitty gritty details....
My "getting started" list:
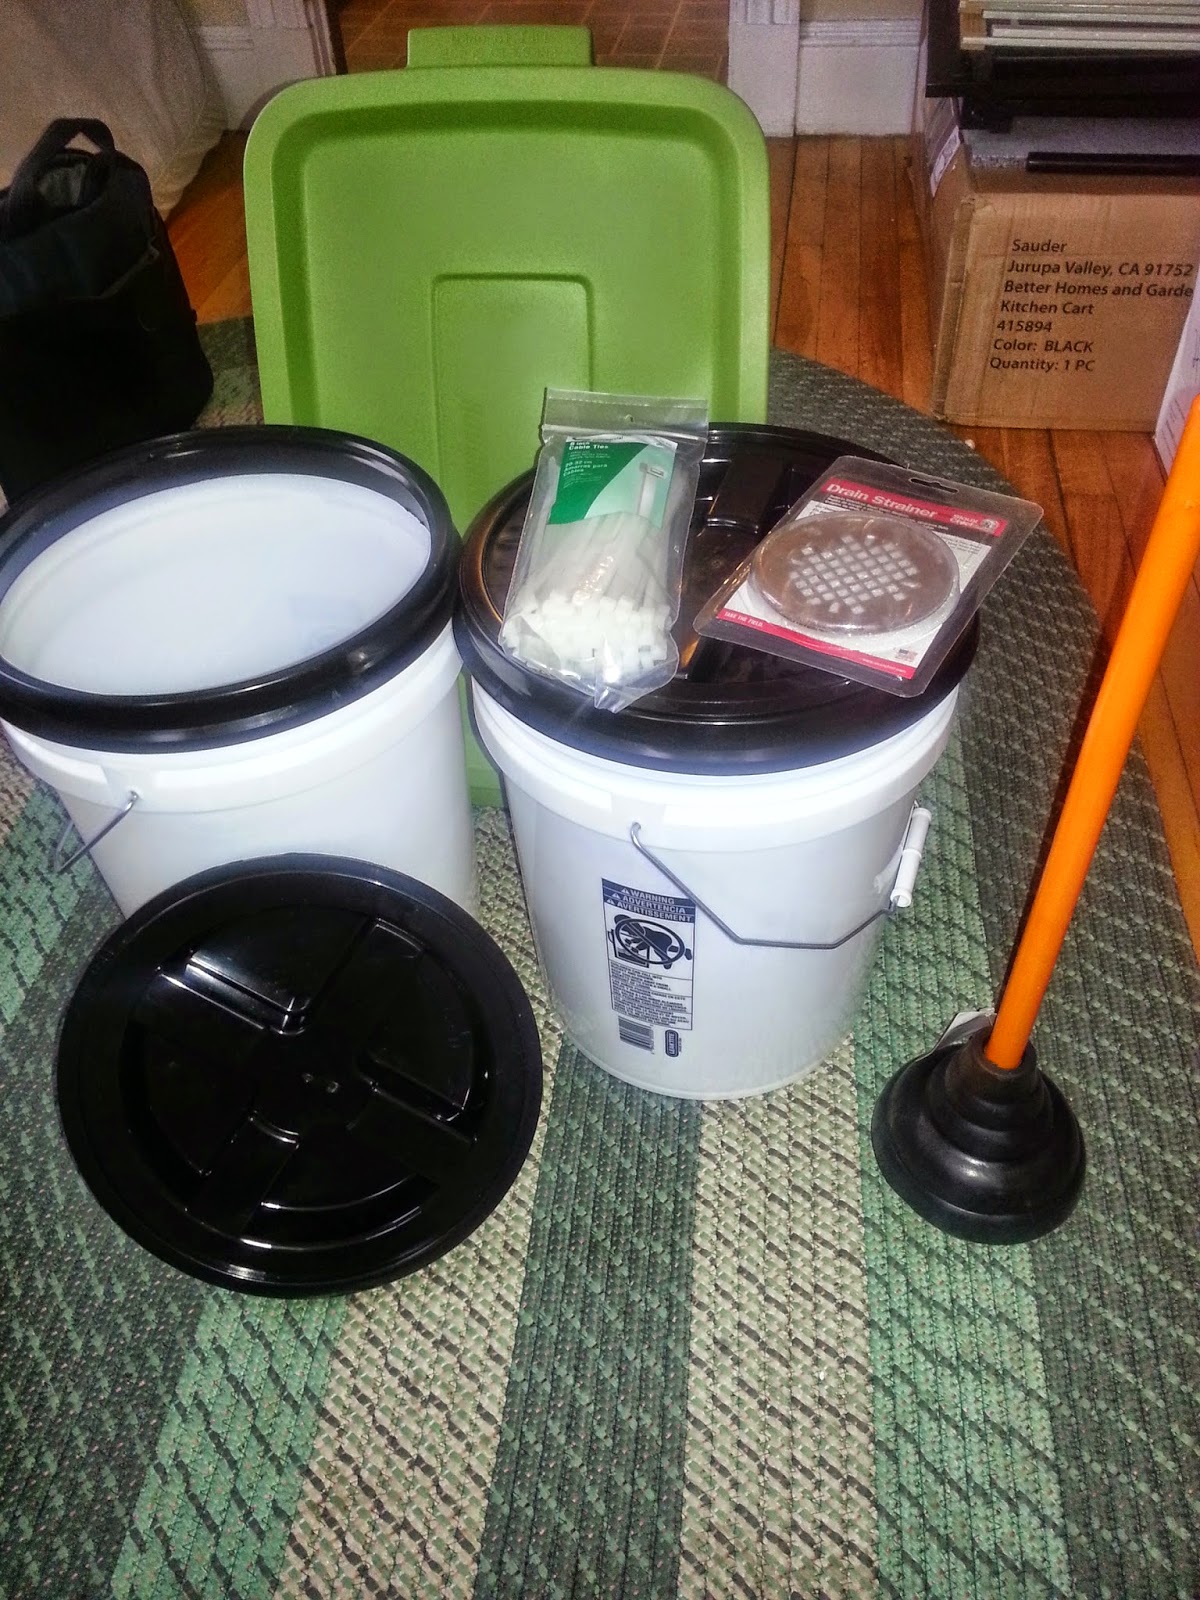
- (2) 5 gal. buckets with lids that securely attach on and then have screw off/on centers.
- (1) heavy-duty plunger
- (1) 100 ct. package of military strength cable ties
- (1) 4.5 inche shower drain cover
- (1) 10 gal/37.9 L Rubbermaid Heavy-duty storage bin (w/lid)
- a second, extendable, tension shower curtain rod
- (1) four pack of heavy-duty 24" bungee cables
- (1) industrial strength, collapsable, metal drying rack
I can go into the details of how all of these things come into play at a later time, but for this first attempt at hand washing, I didn't use any of this other then my drying rack. I wanted to keep things simple the first time around in order to test how long and hard it would be to do laundry with nothing
but my dos manos, feet and bathtub.
I T W A S S O H A R D .
However, I refuse to give up.
I will be posting a video of my own, as well as helpful links and videos to give others an introduction to the experience at a later date.
In the meantime, here are some photos of my tools and end results:
 |
| Initial tools for hand washing experience. The shower curtain rod was already installed in the shower at this time, so it isn't shown here. |

 |
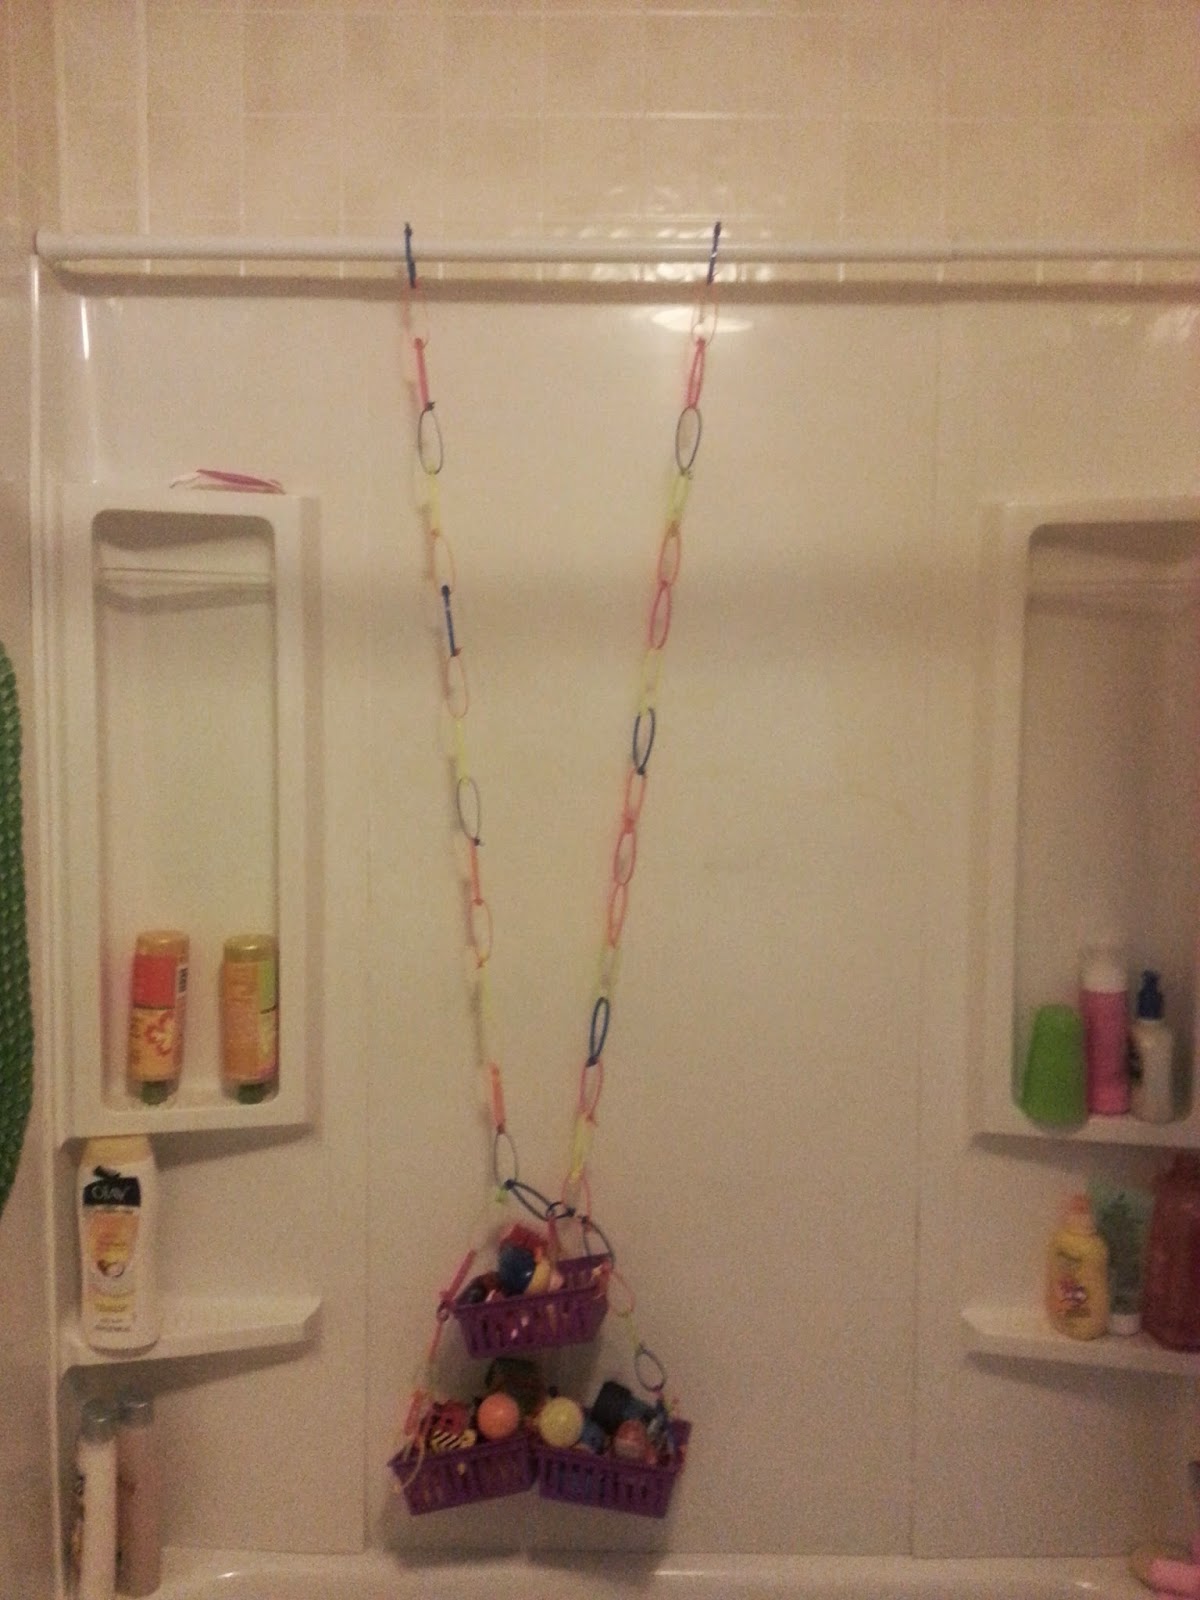
| So, this shower curtain rod has become a glorified children's toy hanging rod for my DIY toy caddy! |
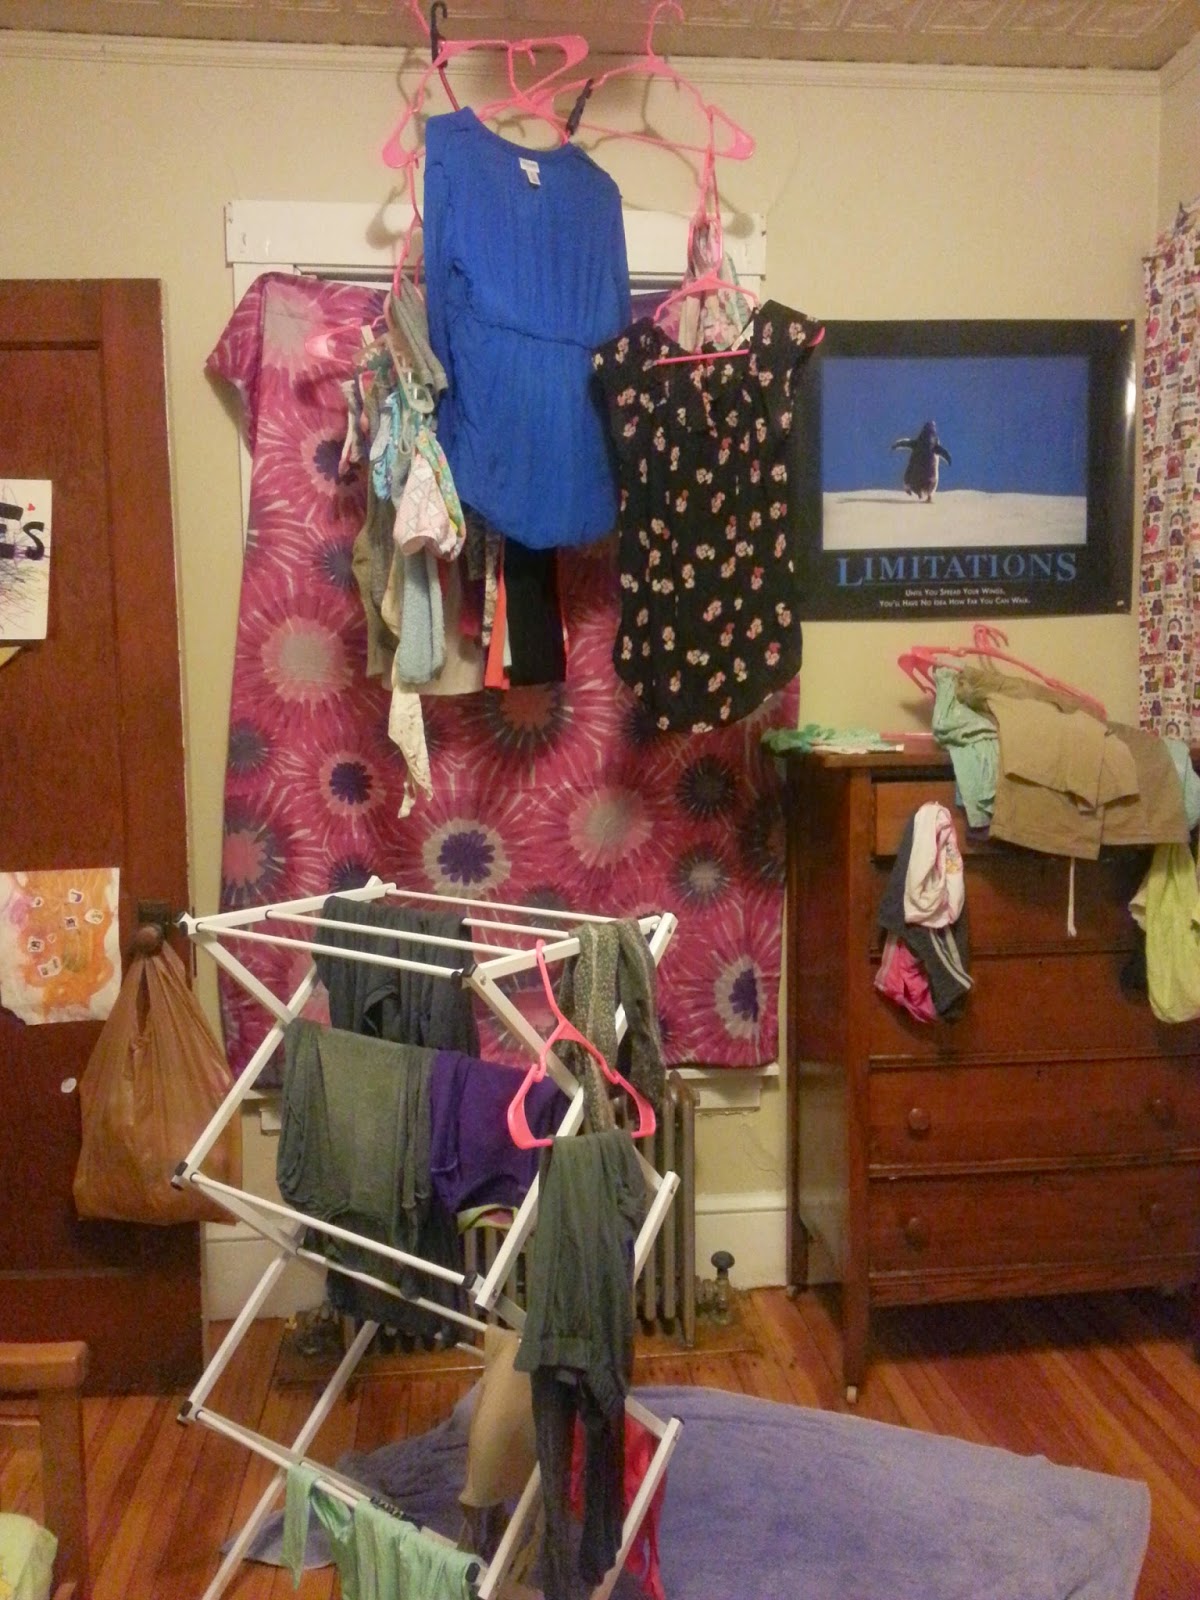
I used the following two drying methods, because I didn't really think it would be that hard to wring out the clothing. First, I hung small things on the drying rack in a well, sun-lit window. Then I put away the small dry things and added the larger items that were still wet to the drying rack. I moved the drying rack to a particularly dry, hot room in the apartment and hung the rest of the clothes from hooks in the ceiling over the radiator.
*Note to self: Purchase A) another drying rack like this one or B) a much larger drying rack.
Results:
* I did the laundry in the morning on day 1 and by morning day 2 every piece of laundry was dry, so it took a while to dry without a good method of wringing out water.
* Two drying racks that are small or one very large drying rack would have been better. Maybe multiple layers or with the ability to expand even larger.
* A shower curtain rod with measurements larger then my shower, as opposed to "just right" would be better so that I can use the bungee cords/double shower curtain rod method for hanging things to dry over the bath tub avoiding drips on the floor. (Stay tuned for a DIY video).


No comments:
Post a Comment
Thank you for your comments. I sincerely appreciate each and every one of them.